Versatile print head cleaner
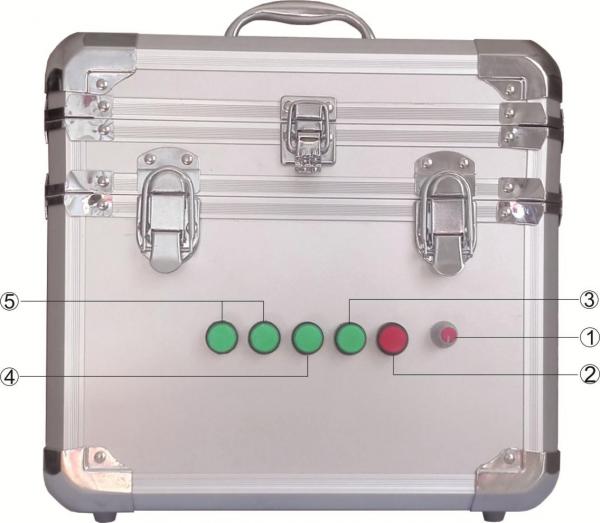
1:Cleaning Fluid Control Knob
2: Ultrasonic Switch
3: Ink Pump Flush Switch
4: Ink Pump Flush Switch
5: Anti - pumping switch
Note:Please clean the remaining ink in the print head and it’s surface first prevent the filter from premature plugging .
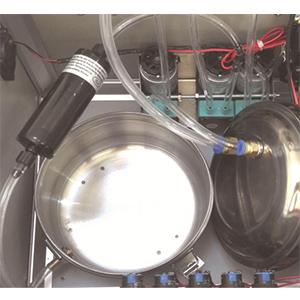
Step1 Open the bottom lid of the machine and the lid of cleaning fluid tank
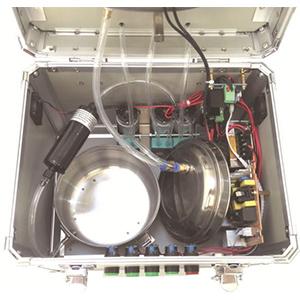
Step2 Pour cleaning fluid into the cleaning fluid tank.. The minimum should be over the water outlet port of the tank
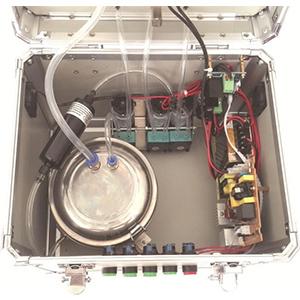
Step3 Cover the cleaning fluid tank lid .and then the bottom lid of the machine
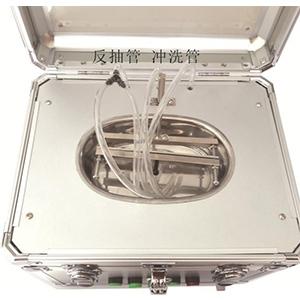
Step4 Open the top lid and put on nozzle holder
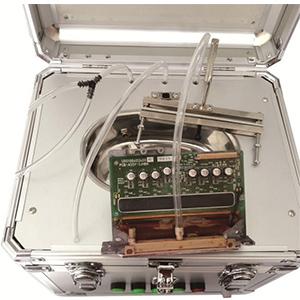
Step5 To connect the inlet of print head to the flushing pipe
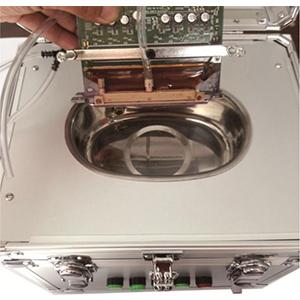
Step6 To insert the print head into nozzle holder
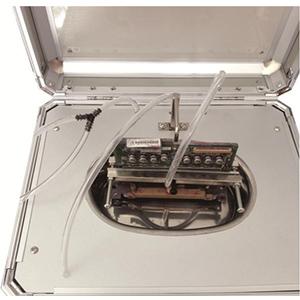
Step7 The inserted print head
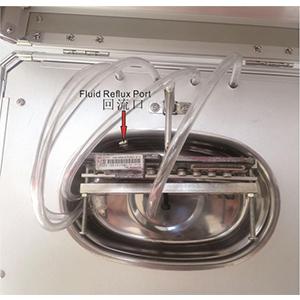
Step8 Pour cleaning fluid into the cleaning tank ,to close to the water outlet port
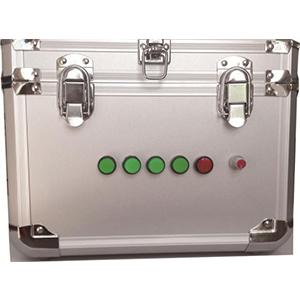
Step9 Press the red bottom to start the ultrasonic cleaning。Ultrasound on time about 60 seconds.
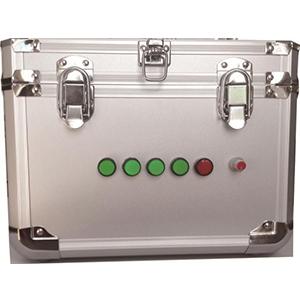
Step10 Press the nozzle and pipe connected to the corresponding green button to let the cleaning fluid circulating rinse nozzle.
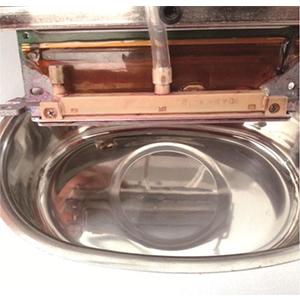
Step11 After closing the ultrasonic nozzle can be picked up observation head cleaning effect.
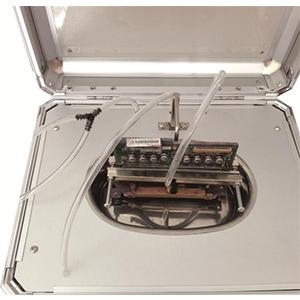
Step12 Repeated cleaning for several times.and Cleaning the print head again after changing the cleaning fluid . Until the cleaning fluid which jet from the nozzle is neat and clean. Then re-install it on the printer after cleaning up the print head.
The number of times you use ultrasonic waves - no more than 15 times a day , the interval time was between 2-4 minutes .If can not get a well cleaning effectit on the day , soak for one day and repeat.


